> For the complete documentation index, see [llms.txt](https://help.sbtinstruments.com/llms.txt). Markdown versions of documentation pages are available by appending `.md` to page URLs; this page is available as [Markdown](https://help.sbtinstruments.com/item-register/accessories/dilution-dispenser/using-the-dilution-dispenser/fill-your-dilution-vials.md).
# Fill your dilution vials
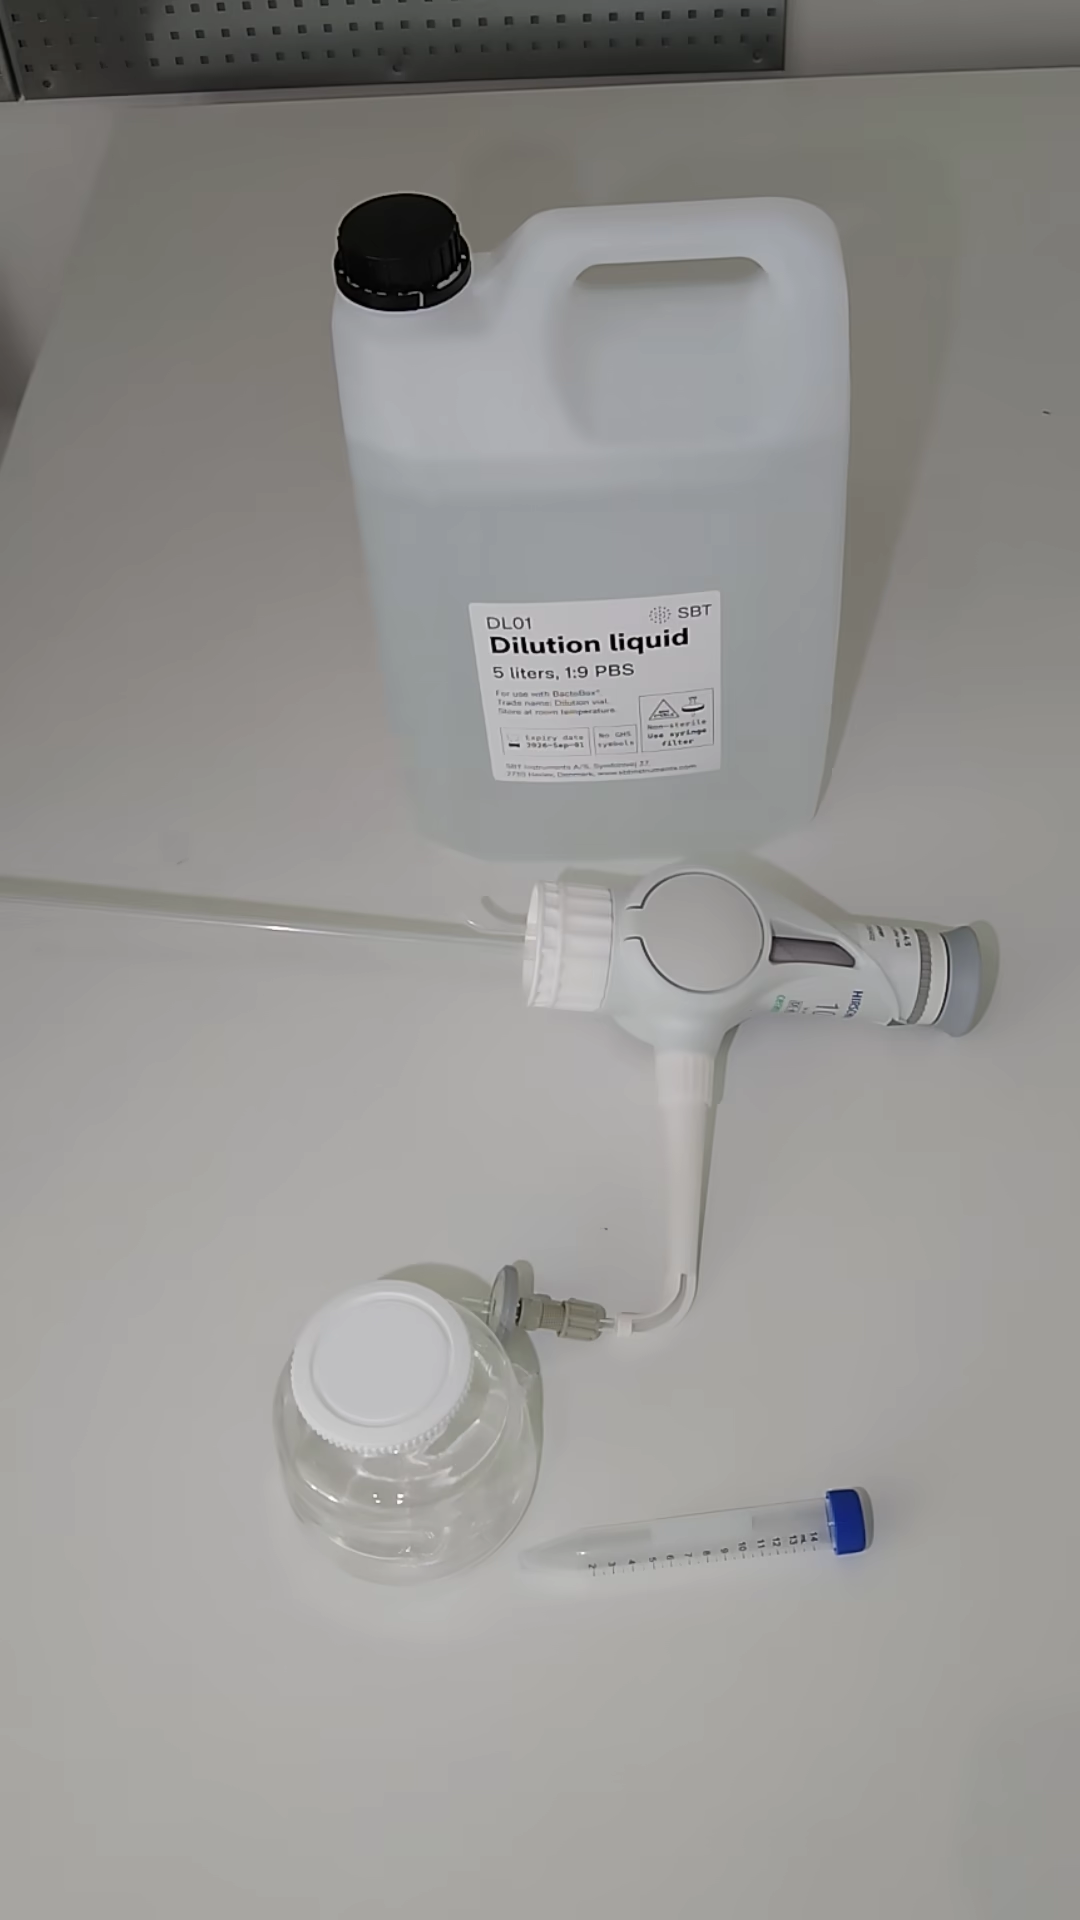
This page shows you how to use the [dilution dispenser](/item-register/accessories/dilution-dispenser.md) to make a DIY [dilution vial](/item-register/individual-items/dilution-vial.md).
## Quick clip :zap:
## Get things ready
You need these items:
* 1 × [dilution dispenser](/item-register/accessories/dilution-dispenser.md) (see [Assemble the dilution dispenser](/item-register/accessories/dilution-dispenser/using-the-dilution-dispenser/assemble-dilution-dispenser.md))
* 1 × [syringe filter](/item-register/consumables/syringe-filter.md) ([replace the syringe filter](/item-register/accessories/dilution-dispenser/using-the-dilution-dispenser/replace-syringe-filter.md) at the start of each day!)
* 1 × [empty vial](/item-register/individual-items/empty-vial.md)
* 1 × [dilution liquid](/item-register/individual-items/dilution-liquid-5-l.md)
{% hint style="success" %}
Use only with SBT [dilution liquid](/item-register/individual-items/dilution-liquid-5-l.md).
{% endhint %}
{% hint style="success" %}
### [**Replace the syringe filter**](/item-register/accessories/dilution-dispenser/using-the-dilution-dispenser/replace-syringe-filter.md) **at the start of each day**
Even within a single day, the syringe filter clogs after repeated use. If it feels like you need to press harder to dispense, replace the syringe filter.
Each syringe filter typically clogs after 200–500 mL of liquid dispensed (20–50 dispenses of 10 mL).
{% endhint %}
{% hint style="warning" %}
### **Indications of clogged syringe filter**
A squeaking sound may indicate a clogged syringe filter. [Replace the syringe filter](/item-register/accessories/dilution-dispenser/using-the-dilution-dispenser/replace-syringe-filter.md) if squeaking occurs to maintain accurate and fluent dispensing.
{% endhint %}
## Step by step
{% stepper %}
{% step %}
#### Mount dilution dispenser
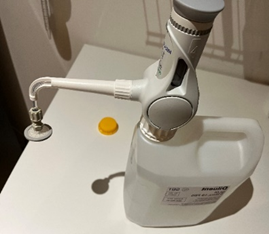
Screw the assembled dilution dispenser onto the 5 L bottle of dilution liquid.
{% endstep %}
{% step %}
#### Vent dilution dispenser
Turn the valve so the arrow points opposite the ejection unit (E).
Pull the piston fully to the stop, then press it down completely.
Perform the pull-and-press motion 3–5 times until no bubbles are visible in the observation window.

{% hint style="warning" %}
### Venting and air removal
If less than 10 mL dispenses through the filter, repeat venting and air removal and/or replace the syringe filter. Use the 10 mL mark on the vial as the target line.
{% endhint %}
{% endstep %}
{% step %}
#### Dispense liquid
Turn the valve toward the ejection unit.
Place an [empty vial](/item-register/individual-items/empty-vial.md) under the syringe filter.
Pull the piston up to the stop.
Let the syringe filter outlet touch the side of the tube, then press the piston gently but firmly down until fully depressed.
Use the 10 mL mark on the empty vial as the target.

{% endstep %}
{% step %}
#### That is it!
Perform a [QC test](/getting-started/qc-test.md) with your new DIY dilution vial.
There are many [pitfalls with DIY dilution vials](/troubleshooting/qc-test-fails/dilution-vial-is-outside...md). The QC test ensures that everything works as it should.
{% endstep %}
{% endstepper %}
{% hint style="info" %}
Consult the included Hirschmann manual for comprehensive details on operation, safety, and troubleshooting.
{% endhint %}
---
# Agent Instructions
This documentation is published with GitBook. GitBook is the documentation platform designed so that both humans and AI agents can read, navigate, and reason over technical content effectively. Learn more at gitbook.com.
## Querying This Documentation
If you need additional information that is not directly available in this page, you can query the documentation dynamically by asking a question.
Perform an HTTP GET request on the current page URL with the `ask` query parameter, and the optional `goal` query parameter:
```
GET https://help.sbtinstruments.com/item-register/accessories/dilution-dispenser/using-the-dilution-dispenser/fill-your-dilution-vials.md?ask=&goal=
```
`ask` is the immediate question: it should be specific, self-contained, and written in natural language.
`goal` is optional and describes the broader end goal you are ultimately trying to accomplish on behalf of the user. GitBook uses it to tailor the answer towards what is most useful for that goal.
The response will contain a direct answer to the question and relevant excerpts and sources from the documentation.
Use this mechanism when the answer is not explicitly present in the current page, you need clarification or additional context, or you want to retrieve related documentation sections.
 This page shows you how to use the [dilution dispenser](/item-register/accessories/dilution-dispenser.md) to make a DIY [dilution vial](/item-register/individual-items/dilution-vial.md).
## Quick clip :zap:
This page shows you how to use the [dilution dispenser](/item-register/accessories/dilution-dispenser.md) to make a DIY [dilution vial](/item-register/individual-items/dilution-vial.md).
## Quick clip :zap:
 Perform a [QC test](/getting-started/qc-test.md) with your new DIY dilution vial.
There are many [pitfalls with DIY dilution vials](/troubleshooting/qc-test-fails/dilution-vial-is-outside...md). The QC test ensures that everything works as it should.
{% endstep %}
{% endstepper %}
{% hint style="info" %}
Consult the included Hirschmann manual for comprehensive details on operation, safety, and troubleshooting.
{% endhint %}
---
# Agent Instructions
This documentation is published with GitBook. GitBook is the documentation platform designed so that both humans and AI agents can read, navigate, and reason over technical content effectively. Learn more at gitbook.com.
## Querying This Documentation
If you need additional information that is not directly available in this page, you can query the documentation dynamically by asking a question.
Perform an HTTP GET request on the current page URL with the `ask` query parameter, and the optional `goal` query parameter:
```
GET https://help.sbtinstruments.com/item-register/accessories/dilution-dispenser/using-the-dilution-dispenser/fill-your-dilution-vials.md?ask=
Perform a [QC test](/getting-started/qc-test.md) with your new DIY dilution vial.
There are many [pitfalls with DIY dilution vials](/troubleshooting/qc-test-fails/dilution-vial-is-outside...md). The QC test ensures that everything works as it should.
{% endstep %}
{% endstepper %}
{% hint style="info" %}
Consult the included Hirschmann manual for comprehensive details on operation, safety, and troubleshooting.
{% endhint %}
---
# Agent Instructions
This documentation is published with GitBook. GitBook is the documentation platform designed so that both humans and AI agents can read, navigate, and reason over technical content effectively. Learn more at gitbook.com.
## Querying This Documentation
If you need additional information that is not directly available in this page, you can query the documentation dynamically by asking a question.
Perform an HTTP GET request on the current page URL with the `ask` query parameter, and the optional `goal` query parameter:
```
GET https://help.sbtinstruments.com/item-register/accessories/dilution-dispenser/using-the-dilution-dispenser/fill-your-dilution-vials.md?ask=